Manufactured Home Remodeling Ideas on a Budget
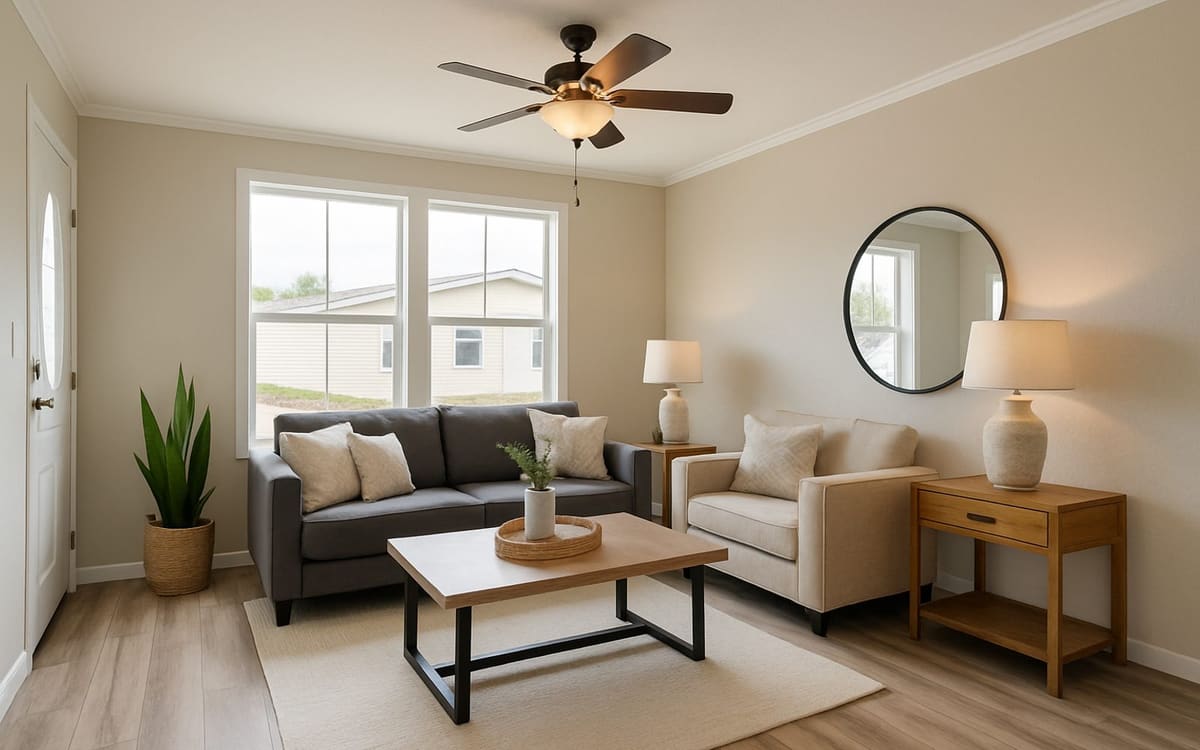
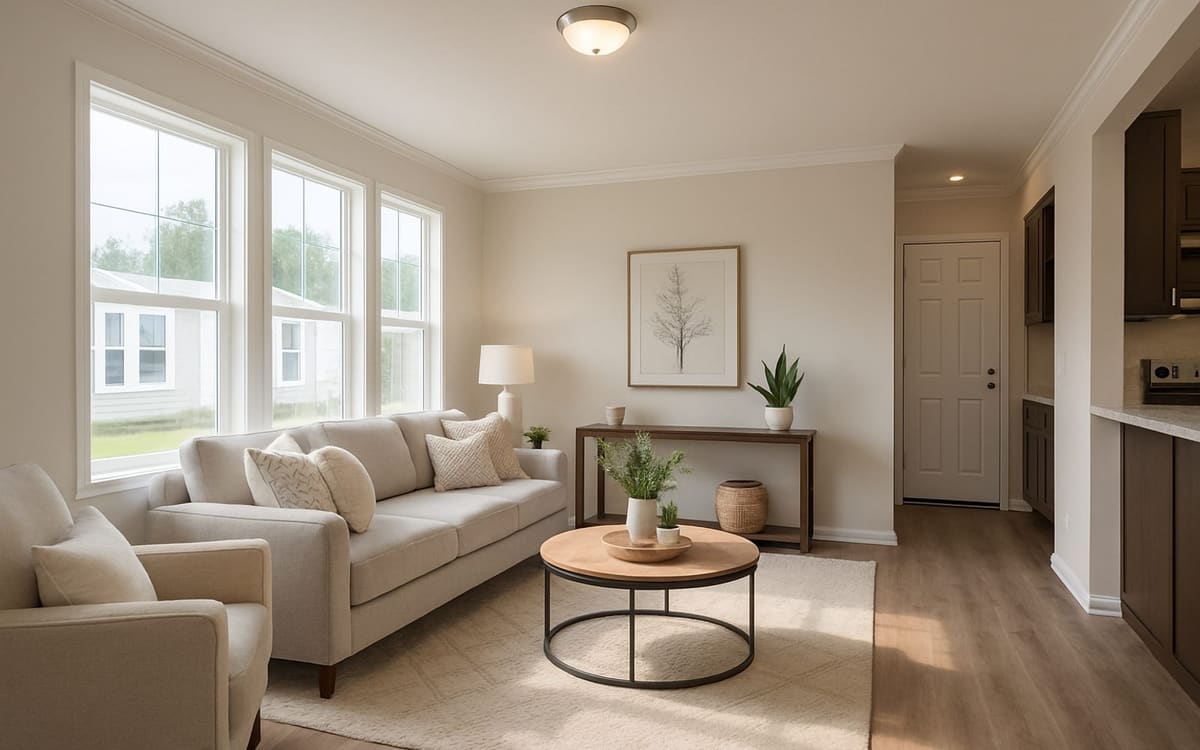
A budget remodel in a manufactured home goes furthest when it works with the way the home was built: paint over the factory wall panels, new flooring on a sound subfloor, and fresh cabinet fronts and fixtures with the plumbing left where it is. Costs climb when a project runs into something a site-built house does not have, such as batten-strip walls, floor decking that swells when wet, sizes the home center does not stock, or a permit nobody mentioned.
This overview is about the inside of a home in California or Arizona: what is different, which projects stretch a small budget, and what to settle before you buy materials.
What is different about remodeling a manufactured home
Most remodeling advice assumes drywall, standard door and tub sizes, and plumbing inside the walls. A manufactured home is built in a factory on a steel frame, and several of its parts work differently.
Common projects and the manufactured-home catch
| Project | What is different | What it means for your budget |
|---|---|---|
| Painting walls | Many homes have vinyl-faced wall panels joined by batten strips, not taped drywall | Allow for cleaning and a bonding primer, and decide what to do about the battens |
| New flooring | The floor decking in many older homes is particleboard, which swells and crumbles after a leak | Find and repair soft spots before any new floor goes down |
| Doors, tubs and windows | Sizes often differ from those in a site-built house | Measure the existing one before you shop; a special order costs more |
| Plumbing fixtures | Supply and drain lines usually come up through the floor from the insulated space beneath it | Leaving fixtures where they are costs far less than moving them |
| Tile, stone and drywall | The home rests on piers and can move slightly as it settles or is re-leveled | Heavy, rigid finishes can crack; ask before you commit to them |
| Moving a wall | Some walls help carry the roof, especially where two sections join | Engineering and permit work, not a weekend project |
Painting factory wall panels
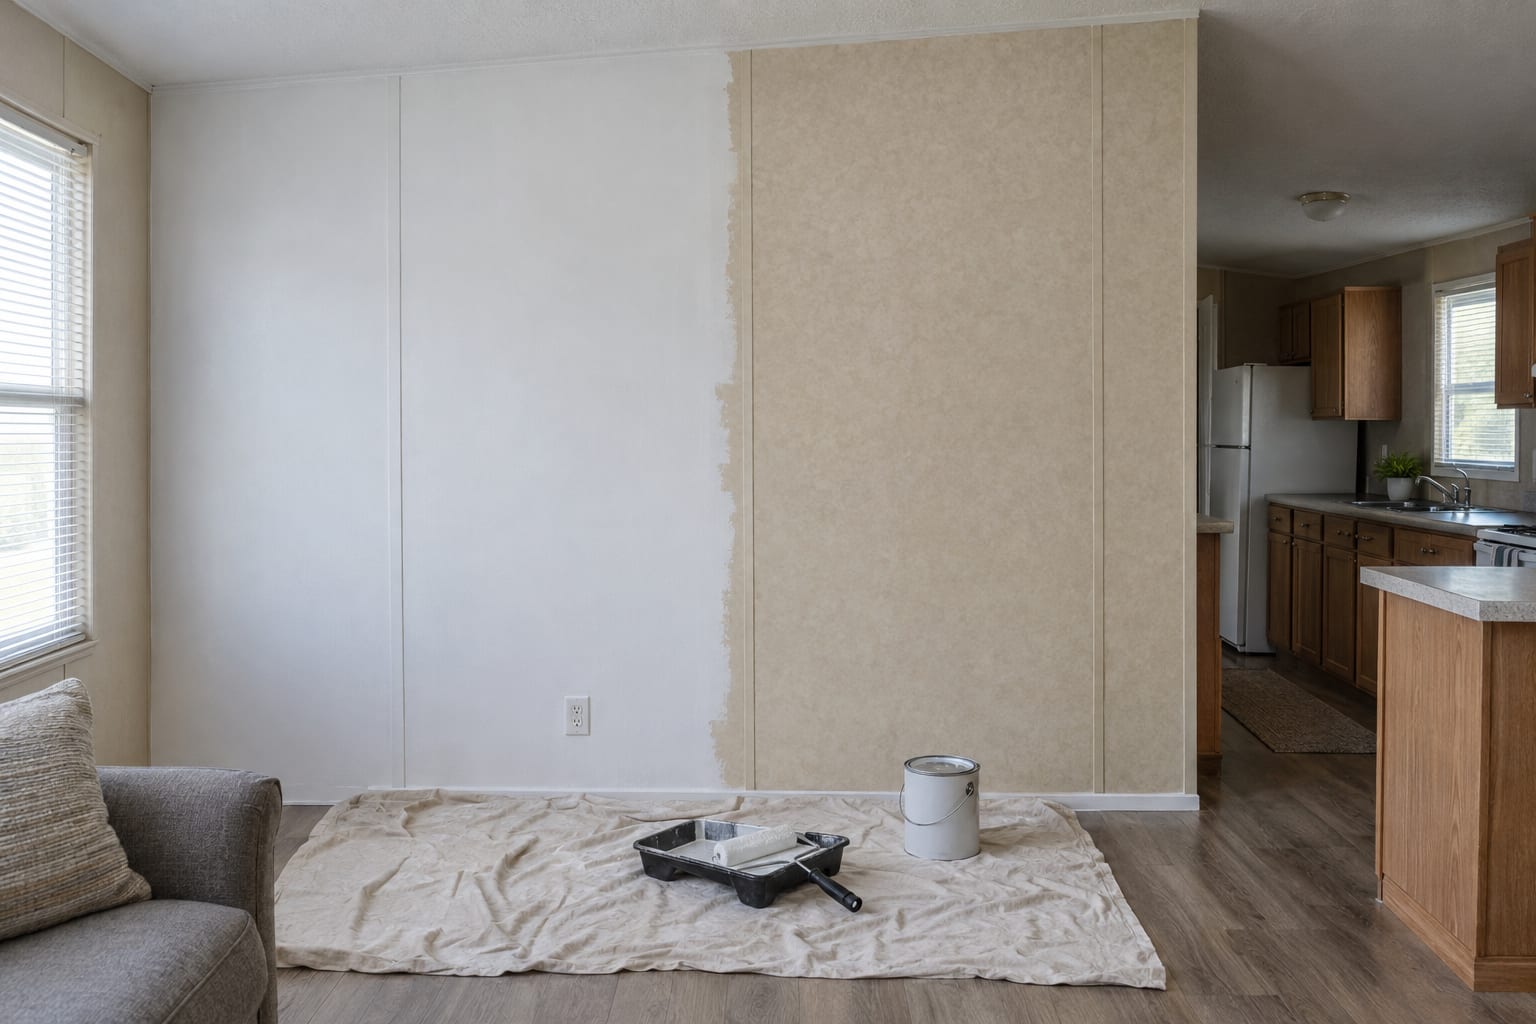
Paint gives the most visible change for the least money, but factory panels need more preparation than drywall. The vinyl or paper face is slick. Wash it to remove grease and dust, let it dry, and roll on a bonding primer made for glossy surfaces before the finish coats. Without the primer, paint can peel off in sheets.
Battens are the narrow strips that cover the joints between panels. You have three choices:
- Paint over them. The cheapest route. With the wall and the battens in one color, the strips fade into the background.
- Caulk, then paint. A thin bead of paintable caulk along each batten closes the shadow line and looks more finished.
- Remove them and fill the joints. This gives a flat wall like drywall, but it is the most labor, and filled joints can crack again if the home shifts or is re-leveled.
Older homes with dark wood-grain paneling take paint well after a light scuff-sanding and a stain-blocking primer.
Check the floor before you cover it
Before you price flooring, walk the home slowly and press with your heel near the tub and toilet, in front of the water heater closet, under windows and just inside the exterior doors. A floor that gives or feels spongy usually means the decking beneath has been wet.
Stop the leak first. Then cut the damaged decking back to solid material and patch it with plywood of the same thickness, with the edges supported. New flooring laid over a soft spot fails along with it. In California, HCD’s alteration guidelines exempt a decking repair of less than four square feet from the permit requirement; ask before you take on a larger one.
For the covering itself, floating vinyl plank is a common budget choice: it goes over a flat, sound subfloor without glue and tolerates a little movement. Sheet vinyl and laminate also work, though laminate is less forgiving of water in kitchens and baths.
Kitchens and baths cost least when the plumbing stays put
In both rooms, the money goes into moving things. A sink, toilet or tub in a new position needs new drain and supply lines under the floor, and the material that closes the underside of the home has to be opened and sealed again afterward. Keep every fixture where it is and the same budget covers a great deal more surface.
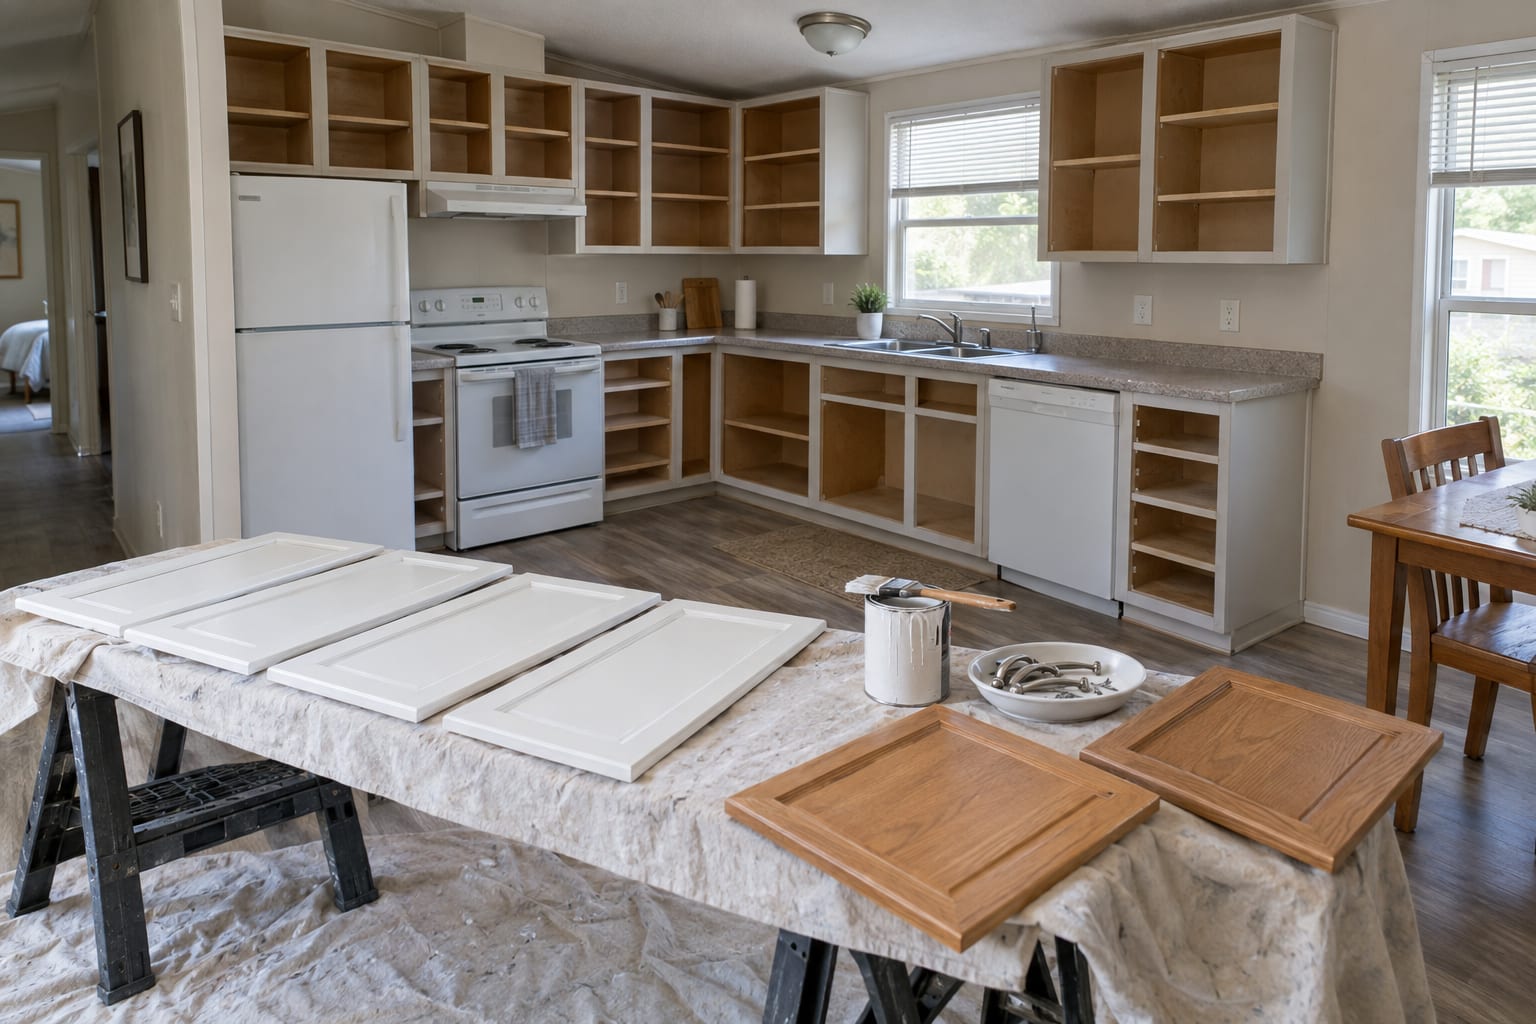
- Cabinets. If the boxes are solid, paint the fronts and change the pulls. Look inside the sink cabinet first: swollen particleboard there means a leak to fix and a cabinet to replace, not paint.
- Counters. New laminate is the budget option. Factory cabinet boxes are often built from thinner material than site-built ones, so ask the installer whether they can carry a heavier top.
- Backsplash. Wall panels flex slightly, which can crack rigid tile and grout. Peel-and-stick tile or a thin panel is more tolerant.
- Tubs and showers. Measure before you shop, because the tub may not be the standard length sold at a home center.
- Shut-off valves. Many manufactured homes have none at the individual fixtures. Adding them while you replace a faucet costs little and lets you isolate a leak later.
For smaller jobs in each room, such as hardware, caulk, lighting and shelving, see weekend projects by room.
Ask about permits and approvals before you buy materials
In California, HCD (the Department of Housing and Community Development) says you must obtain a permit before beginning any work that alters a manufactured home. Its page on modifications and alterations links to the guidelines, and the list is broader than many owners expect.
It includes replacing a water heater, furnace or air conditioner, changing drain or water piping, changing the interior wall covering, new siding, re-roofing and moving walls. Like-for-like swaps, such as a kitchen sink or toilet with no piping changes or an exterior door of the same size, are listed as not needing one.
In Arizona, take permit questions to the Arizona Department of Housing. In either state, a home in a community may also need the management’s approval for work that can be seen from outside. Guidelines change, so check the current rules before you start. This is general information, not legal advice.
Spend in this order when money is tight
A sensible order of work
- Stop the water Roof leaks, plumbing drips and failed caulk come first, because everything else sits on top of them.
- Repair the floor Replace soft decking before any new surface goes down.
- Paint Do walls, ceilings and cabinets while the old flooring is still there to catch the drips.
- Lay the flooring One material through the main rooms makes a small home feel larger.
- Replace fixtures and hardware Faucets, lights, pulls and shut-off valves.
- Then weigh the bigger items Counters, cabinets, windows, and heating and cooling equipment.
Outside work follows its own rules, covered in exterior projects you can do yourself. If lower utility bills are the goal, start under the floor: see energy efficiency in a manufactured home.
Be careful about borrowing for cosmetic work. An upgrade is worth only what buyers of similar homes pay for it, as which renovations matter at resale explains. If you are weighing a refinance to pay for a larger project, ask what applies to your home: refinance options depend on the home, the land status and current guidelines, and all financing is subject to credit approval.